Activity: Enable OpenShift Service Mesh
Module 2
Red Hat OpenShift Service Mesh has been installed and configured in your cluster. You will now onboard travel-agency namespace to be managed by Red Hat OpenShift Service Mesh
Set up your workshop environment
You will need to access the OpenShift console and command line terminals to apply configurations.
-
Clear the output in both terminals to make it easier to work on the next steps.
clear -
Log in to both the terminals on the right side using the following command.
oc login -u admin -p {ocp_cluster_openshift_cluster_admin_password} https://172.30.0.1:443-
Type
yif you are prompted withUse insecure connections? (y/n) -
You should see a
Login successfulmessage
-
Review travel-agency namespace
Before enabling Istio sidecar proxy injection for the travel-agency namespace, let’s review all the pods running within it.
-
Run the following command in the upper terminal.
oc get pods -n travel-agencyExample output:
NAME                             READY   STATUS    RESTARTS   AGE
cars-v1-d7b4b7cf-pm7nh           1/1     Running   0          113m
discounts-v1-7cfd444876-wrxtc    1/1     Running   0          113m
flights-v1-77bbc76cbd-kfghl      1/1     Running   0          112m
hotels-v1-55556b6574-kcxv7       1/1     Running   0          112m
insurances-v1-656cdb54f6-gcc2m   1/1     Running   0          112m
travels-v1-647d788486-wf4nm      1/1     Running   0          112m
-
Each pod shows
1/1under theREADYcolumn, indicating that each pod has a single container and it is running. -
Check the namespace
travel-agencyconfiguration.oc describe namespaces travel-agency
-
Look for the label:
istio-injection=disabledistio-injection=disabledis the implicit default value and might not be present in the deployment. You can proceed to the next step even if it is not displayed. -
The Istio sidecars have not yet been deployed and the namespace has not been added to the mesh yet. Let’s change that in the next step.
Add travel-agency namespace to the mesh
Onboarding a namespace to the mesh can be done manually by editing/patching labels in the travel-agency namespace, or by using the Kiali console.
In this module, you will use the Kiali console to enable automatic Istio injection to the namespace. Service mesh will then automatically inject proxy sidecar containers into all pods in travel-agency namespace that will allow the service mesh to manage the services in the namespace.
-
Navigate to the Kiali console, and log in with username
adminand password{ocp_cluster_openshift_cluster_admin_password}when prompted.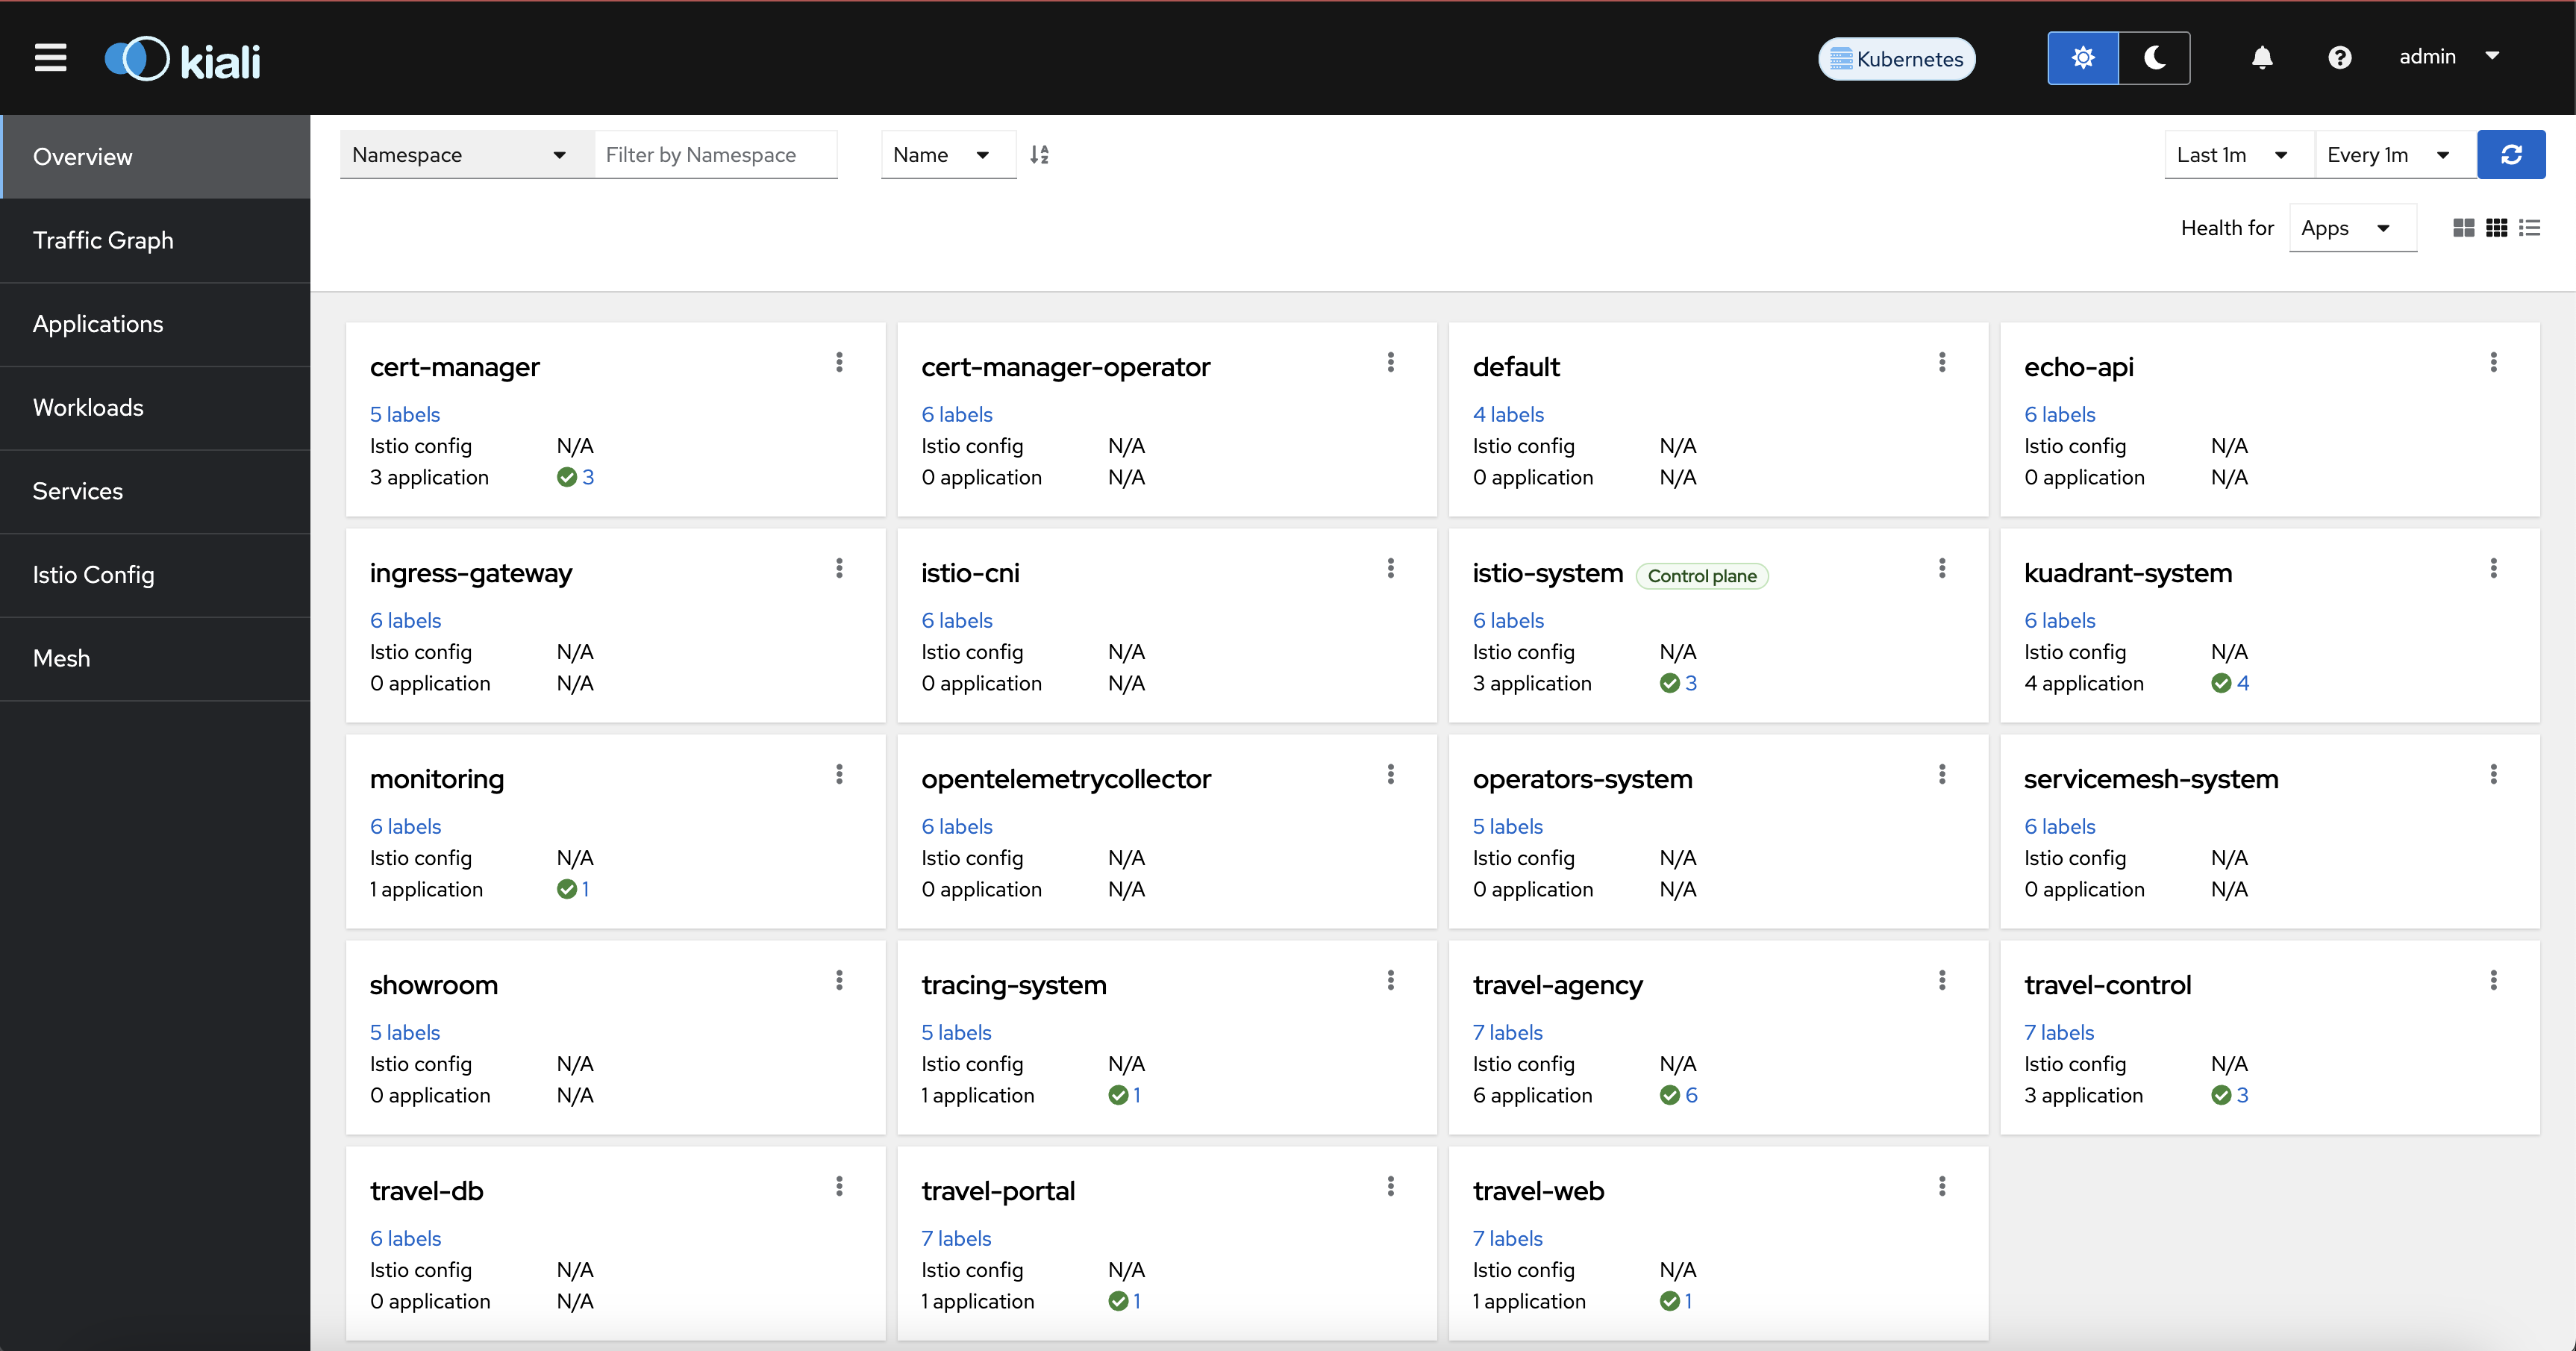
-
Enter
travel-agencyinto the Namespace filter, and press Enter to make it easier to perform actions.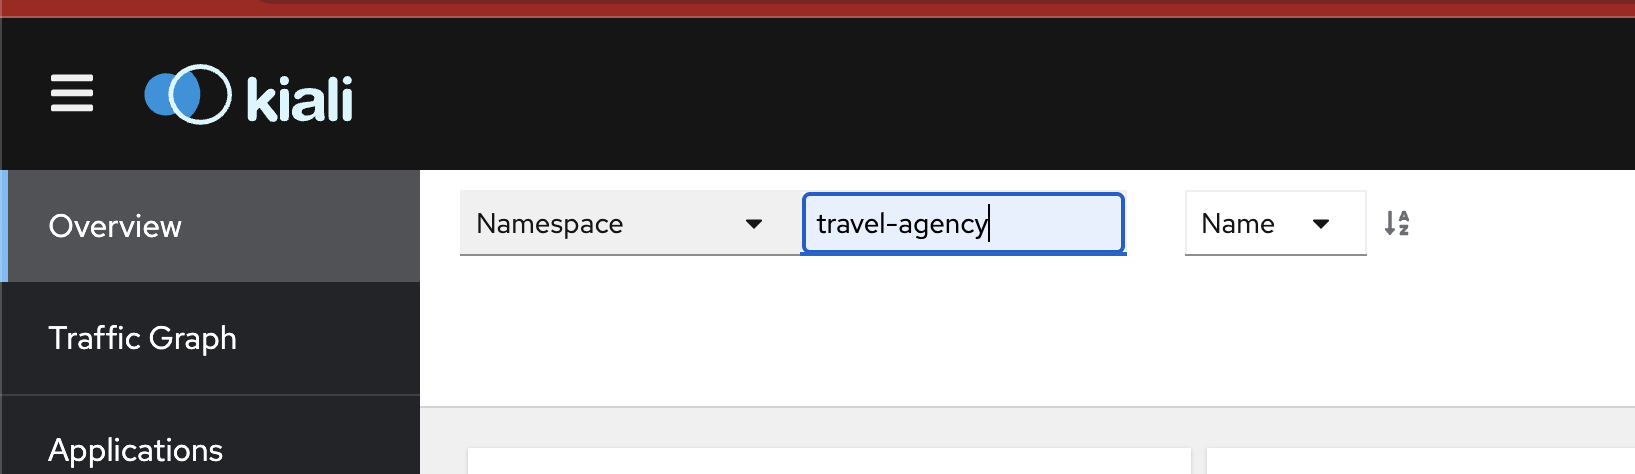
-
From the
travel-agencytile, click the kebab menu (three horizontal dots), and choose Enable Auto Injection.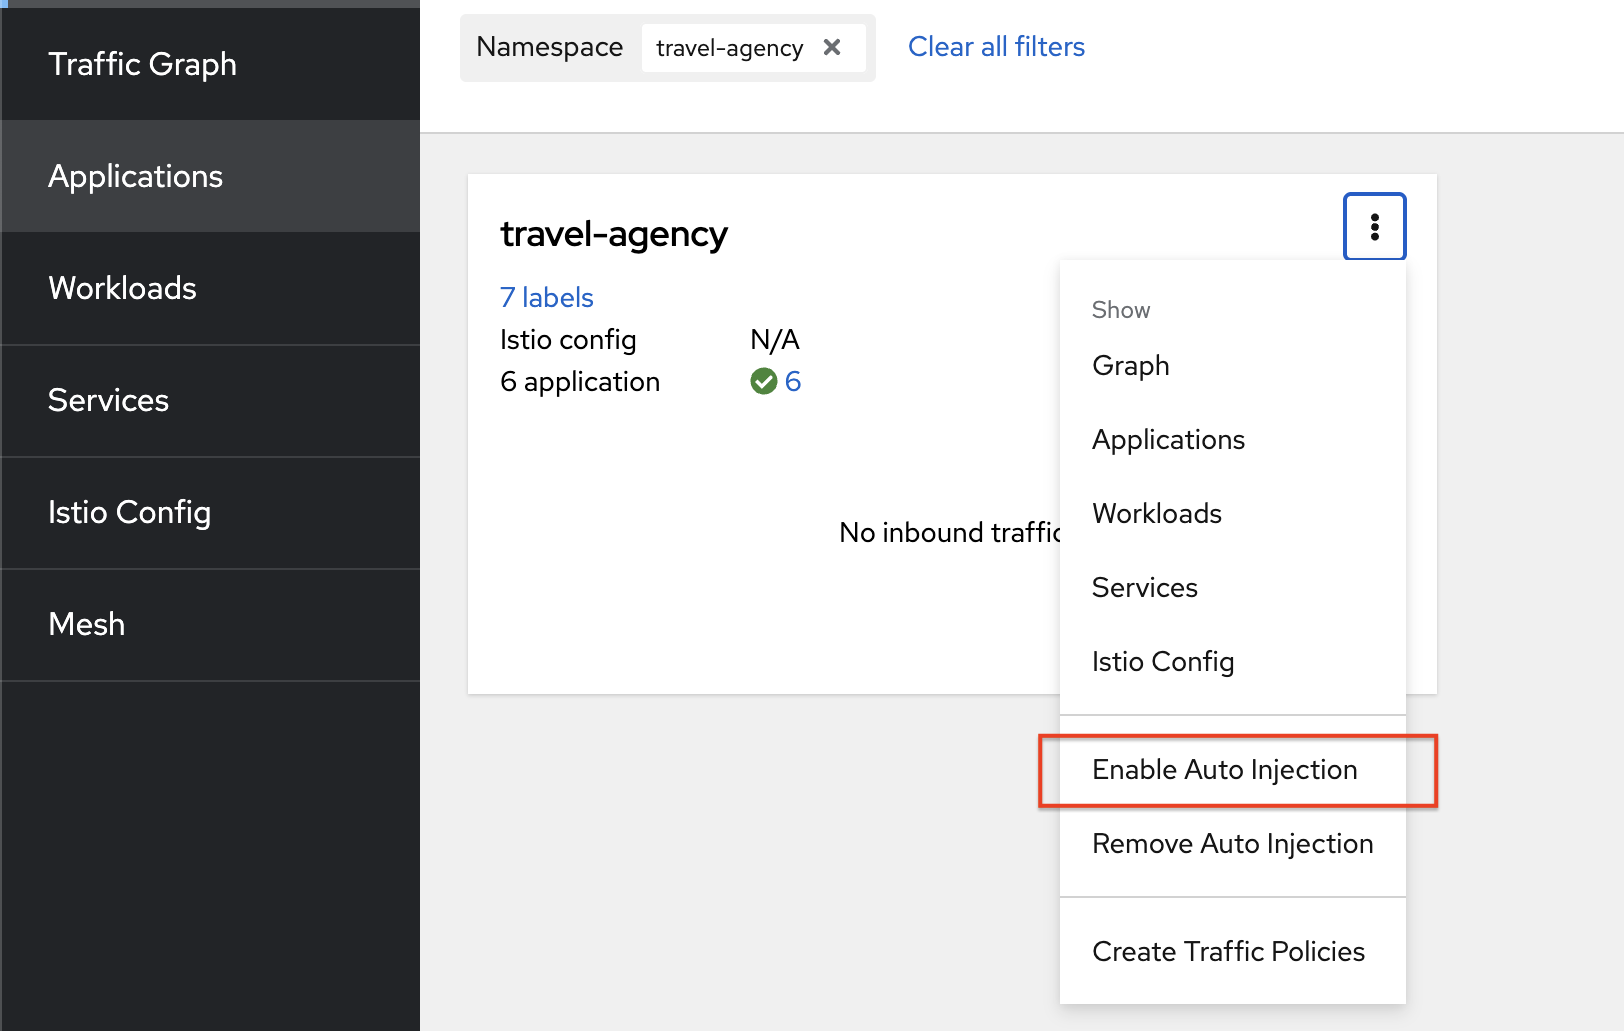
-
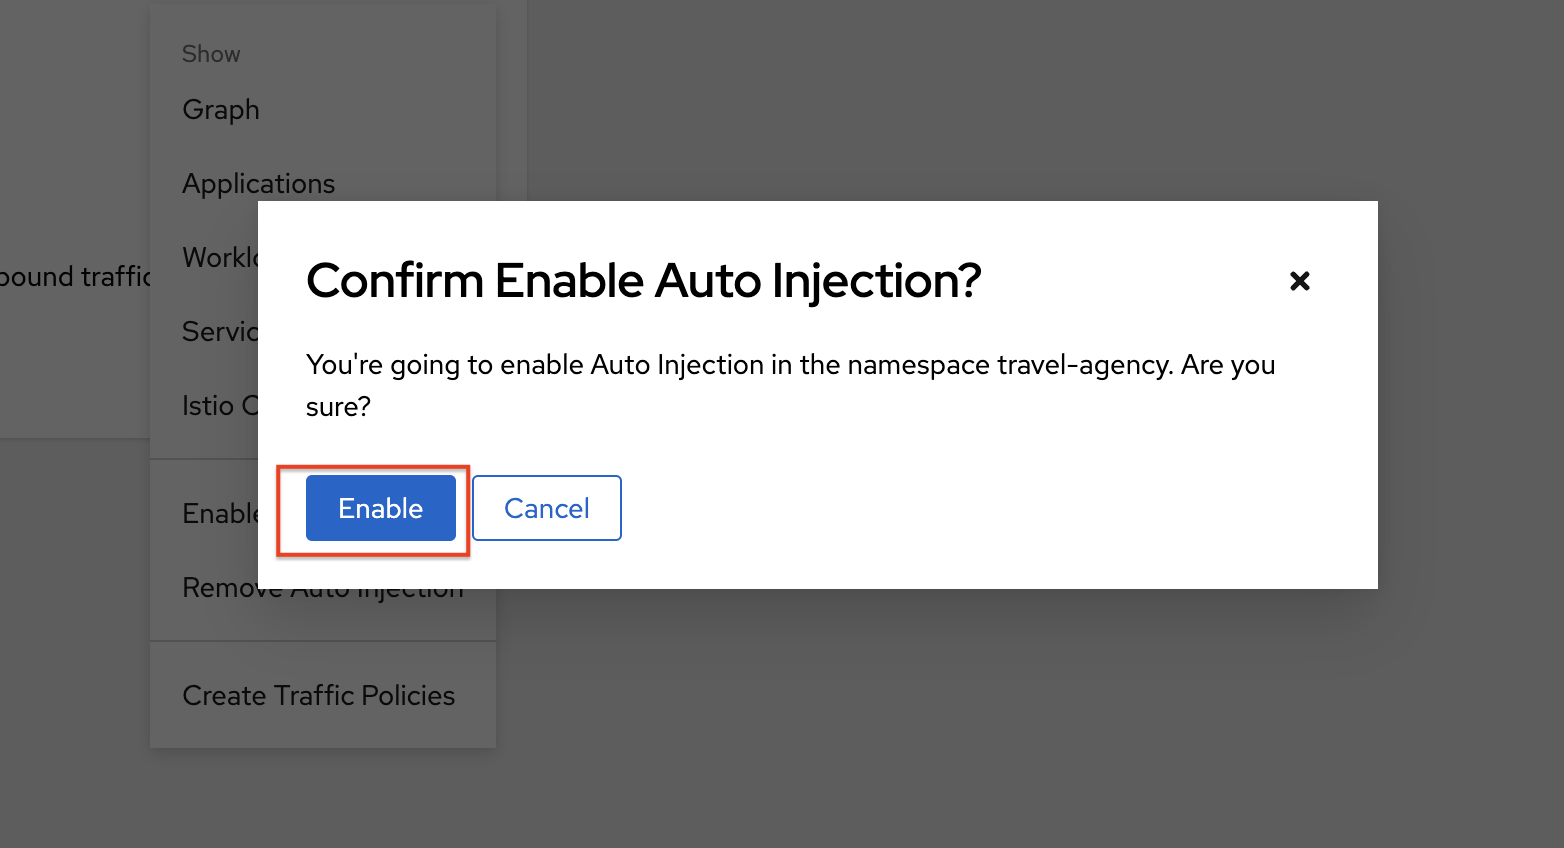
Confirm by clicking the Enable button.
-
You are notified that the namespace has been updated. This action adds
travel-agencynamespace to the mesh, and also sets the namespace’s Istio label toistio-injection=enabled.
Validate auto-injection to travel-agency
-
In the Kiali console, click on the labels link of the
travel-agencycard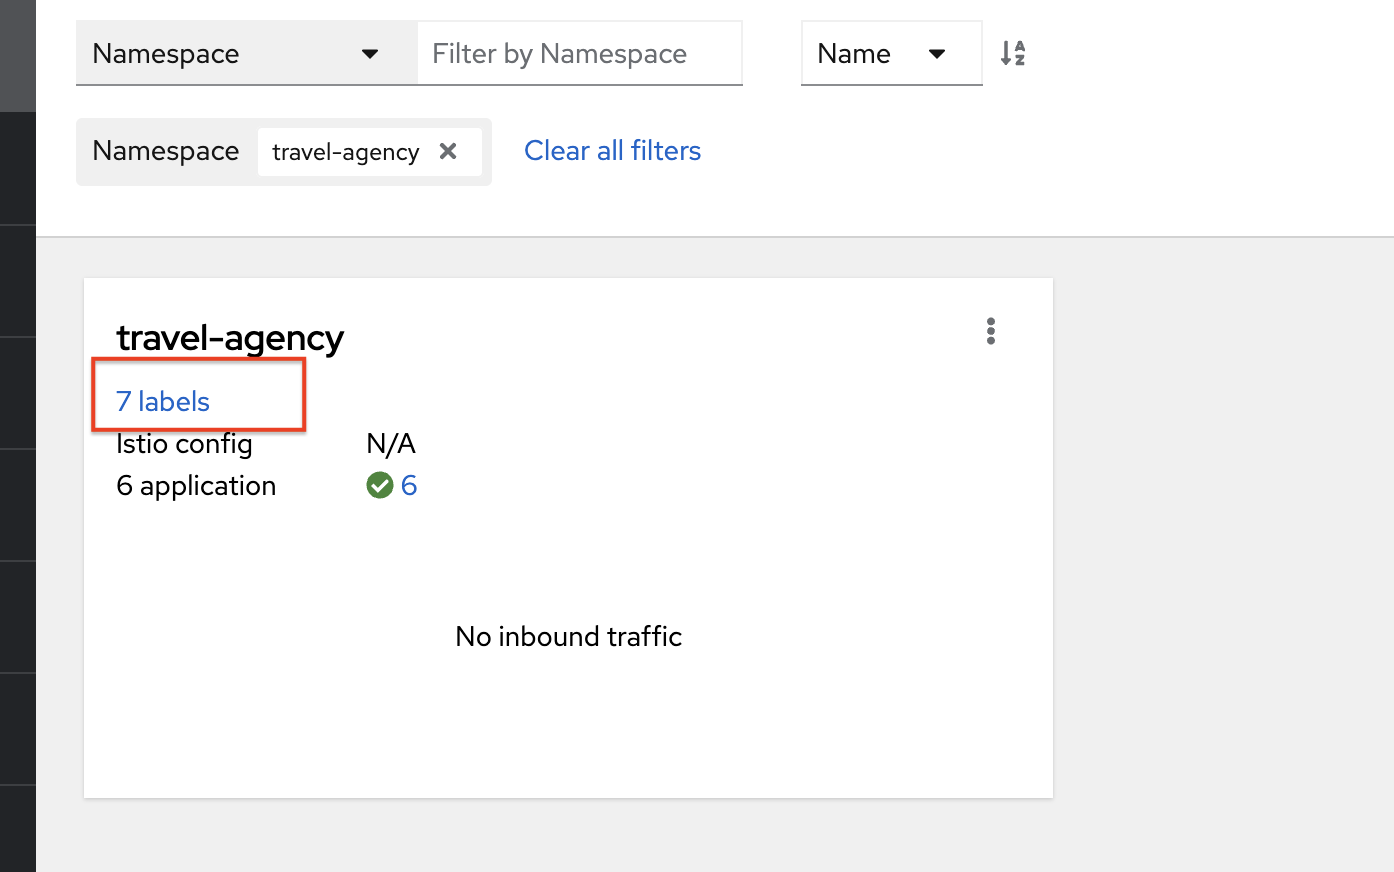
-
You should now see the new label
istio-injection=enabled.
Restarting deployments to trigger sidecar
With auto-injection enabled, you must restart the application pods to trigger sidecar injection.
-
In the upper terminal, run the following command. This will automatically run the
oc get podscommand every two seconds.watch oc get pods -n travel-agency -
In the lower terminal, run the following command to restart the pods in the
travel-agencynamespace.oc get deployments -n travel-agency -o name \ | xargs -I{} oc rollout -n travel-agency restart {}Expected output on the lower terminal.
deployment.apps/cars-v1 restarted deployment.apps/discounts-v1 restarted deployment.apps/flights-v1 restarted deployment.apps/hotels-v1 restarted deployment.apps/insurances-v1 restarted deployment.apps/travels-v1 restarted -
Once the applications have been restarted, the upper terminal will show that there are now 2 containers per pod, one of the containers being the Istio side car that has been auto-injected.
NAME READY STATUS RESTARTS AGE cars-v1-8449bdcfcc-27ncs 2/2 Running 0 78s discounts-v1-f4d97b4b8-78z8w 2/2 Running 0 78s flights-v1-594f54d7b-lg7n4 2/2 Running 0 77s hotels-v1-56fc4b478d-lcbn2 2/2 Running 0 77s insurances-v1-5fc4b7cdf6-khkl5 2/2 Running 0 76s travels-v1-99798fc94-2xw74 2/2 Running 0 75s -
You can now stop the
watchcommand in the upper terminal withCtrl+C